
Disney Funds are totally bringing me joy as I collect and save for future vacations. My latest DIY is where I plan to store some Mickey Money and it’s an easy and quick project to make with a Cricut.
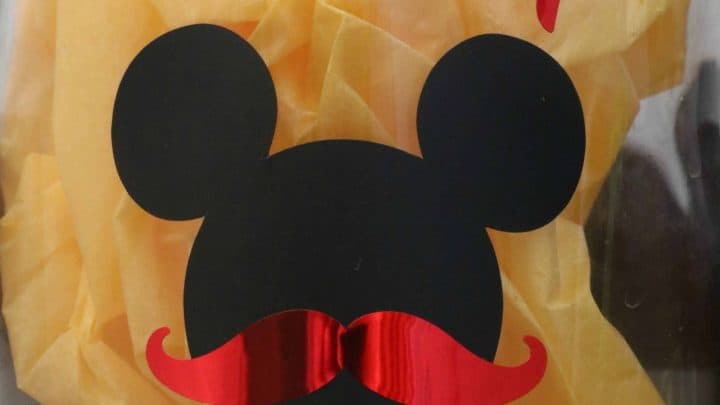
 Making a DIY Disney Fund or Disney Stache for myself or friends has been fun, so when a friend asked if I could make one for her I jumped at the chance to make a Mickey Money jar, because I just love the alliteration!
How to make a Disney Fund
Supplies are simple and you can probably find a spare jar around your house!
 Jar
Jar
Vinyl (I love this metallic Red)
Transfer tape
Cricut Machine
Steps for Mickey Money jar
1. Figure out your design. I love having the Disney Cartridges. I get so much use out of them. This design uses Disney Mickey and Friends cartridge. You can also find the finished Mickey Money in Design space.
2. One you have your design it’s time to cut the vinyl. Make sure you select the correct vinyl type. I know the Metallic is a different setting than the regular vinyl. Place the vinyl face up on the mat and cut.
3. Prep your jar. Make sure it’s a clean dry surface
4. Weed your design. I do find the Weeding toolkit makes weeding a little easier.
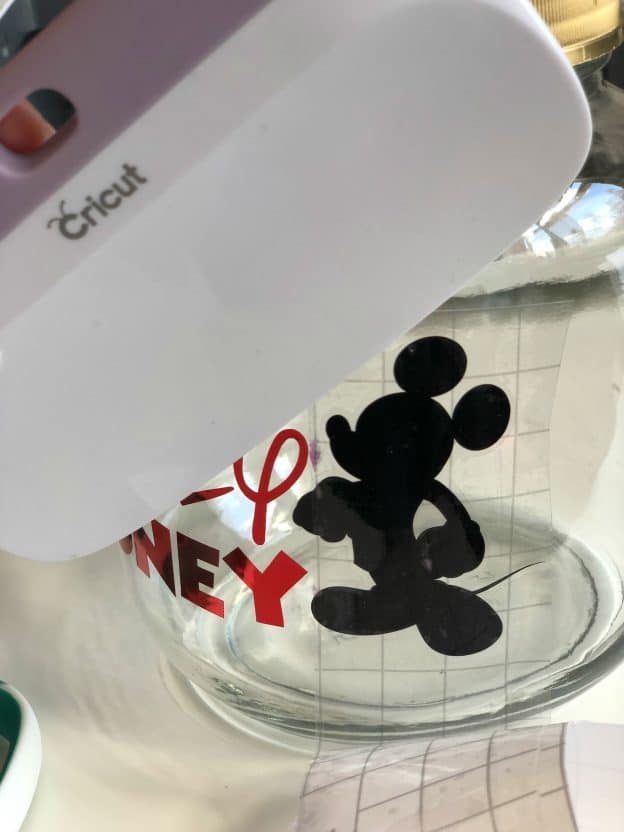 5. Apply transfer tape over the design and place on the jar. Tip: when working on a curved surface apply from the center out. This helps to avoid bubbles.
6. Repeat as needed and remember that you can reuse transfer tape and the scraper is your friend.
 7. Start saving!
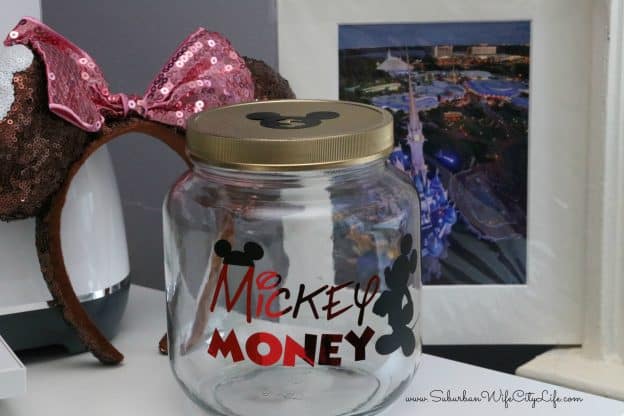
Mickey Money
 I love all my Disney funds but this one is my favorite. Partly because it was made for a fellow Disney lover and partly because I just love the term Mickey Money!
 How do you save for future Disney trips?
More Disney DIY Cricut Projects

Make sure you check out my other Disney tips and DIYs
 How to find your stroller at Disney
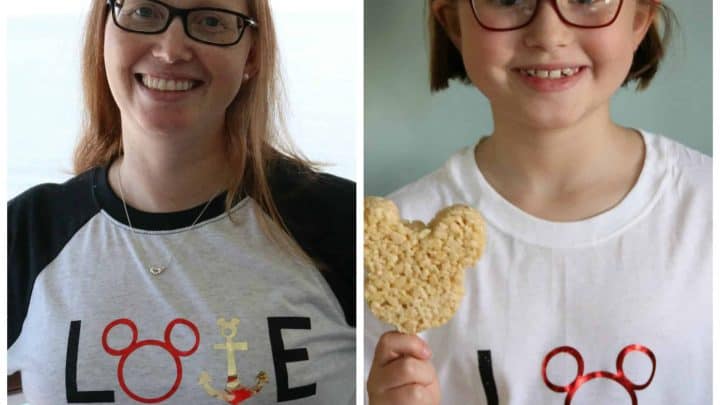
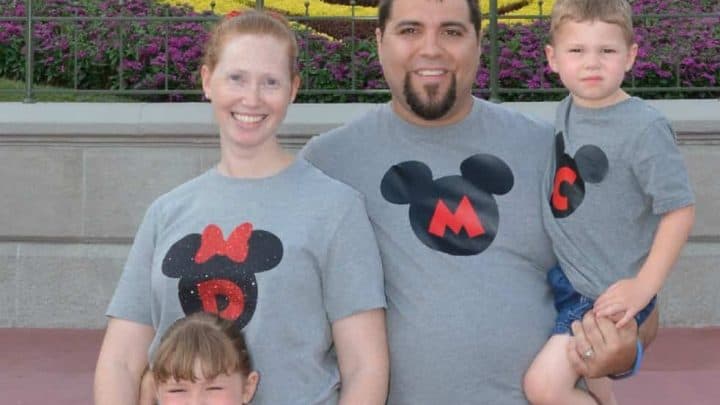
 Disney Family Shirts
 Disney Reveal
 This is me Destiny! I'm a content creator that covers DIY, Cricut, Travel, National Parks, Disney, Games and Family. I’m navigating life with my husband Mike, 2 kids and live in the suburbs of Maplewood, New Jersey.