Over the summer Mike and I started to have the conversation about bunk beds for the kids. Eleanor and Camden are sharing a room and we plan to have them share for a few more years so bunk beds seemed like the best option for them to have space and their own little area so we decided to DIY bunk beds for them.
We spent a few months figuring out what we wanted exactly and pricing things out. We looked at a lot of different options, but in the end we decided it would work best if we made one ourselves.

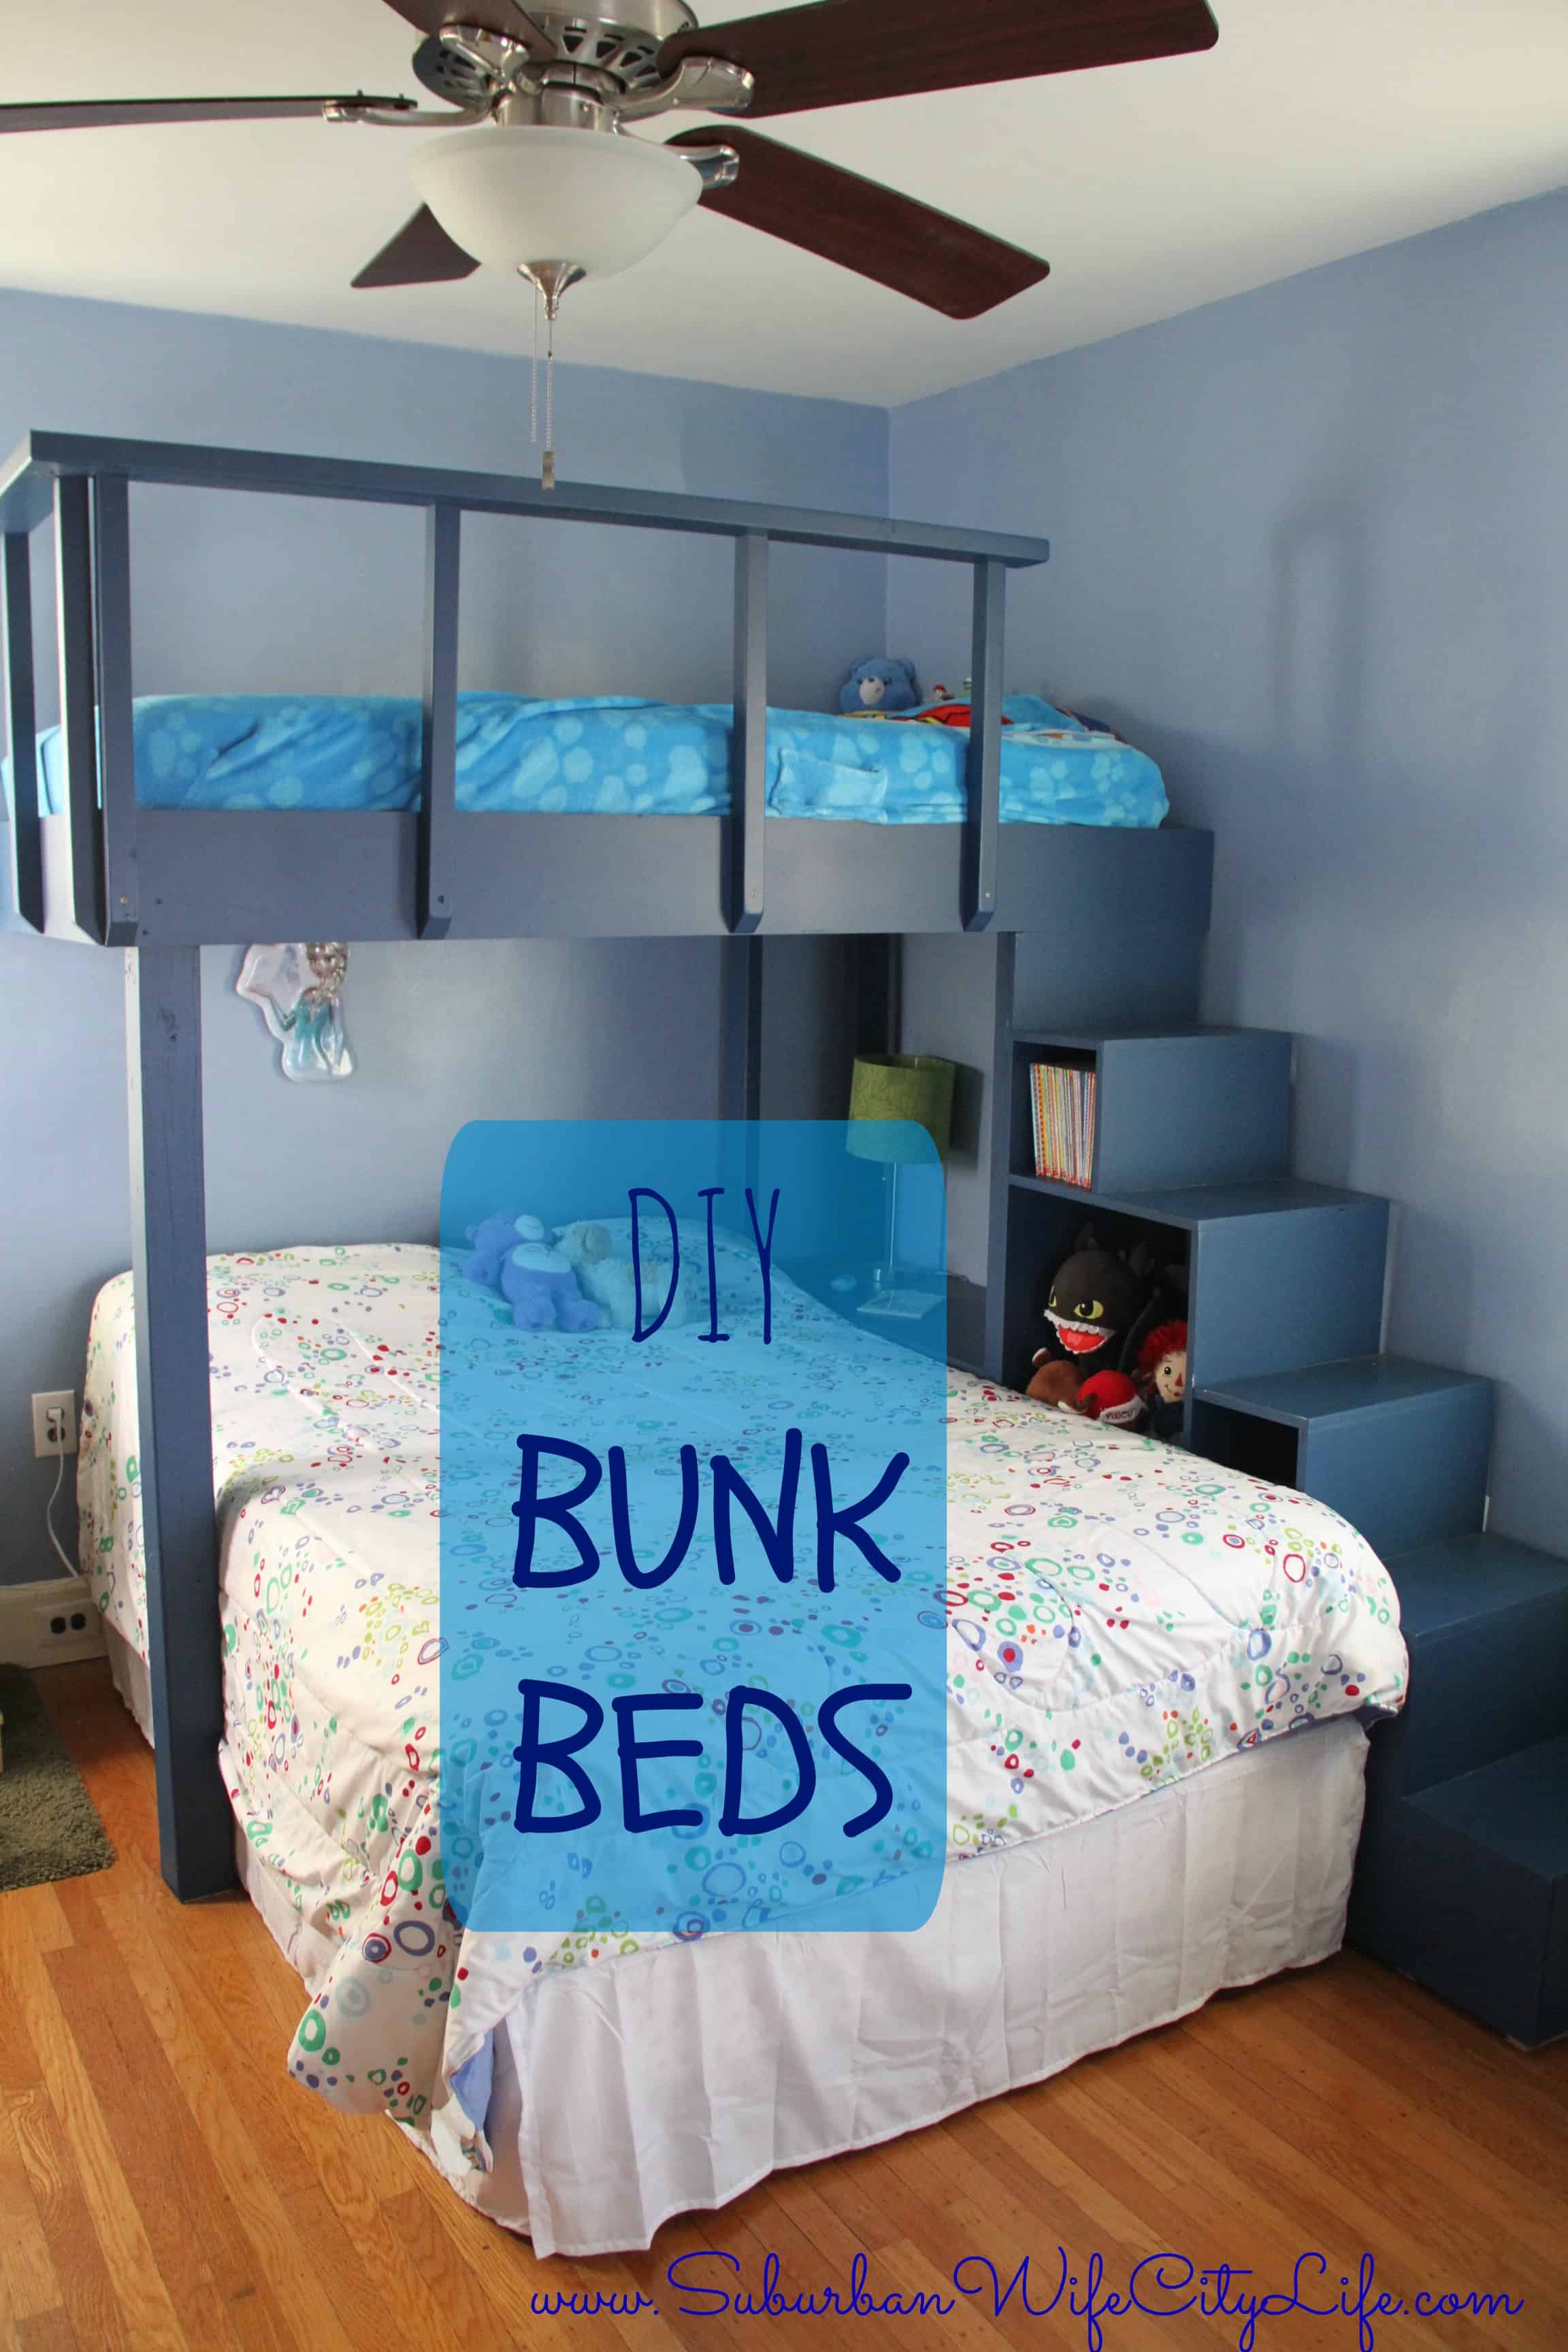
DIY Bunk Beds
The big reason we decided to make it is because we knew we wanted to have stairs for the top bunk. We knew Camden would be going up there so we wanted it to be something he could easily do.
Tip: If you have younger kids buy the Zippy Sack, it’s so much easier to make the bed. We also knew we wanted to have a full bed on the bottom and twin on top because of the ceiling fan in the room.

Bunk Beds with Stairs
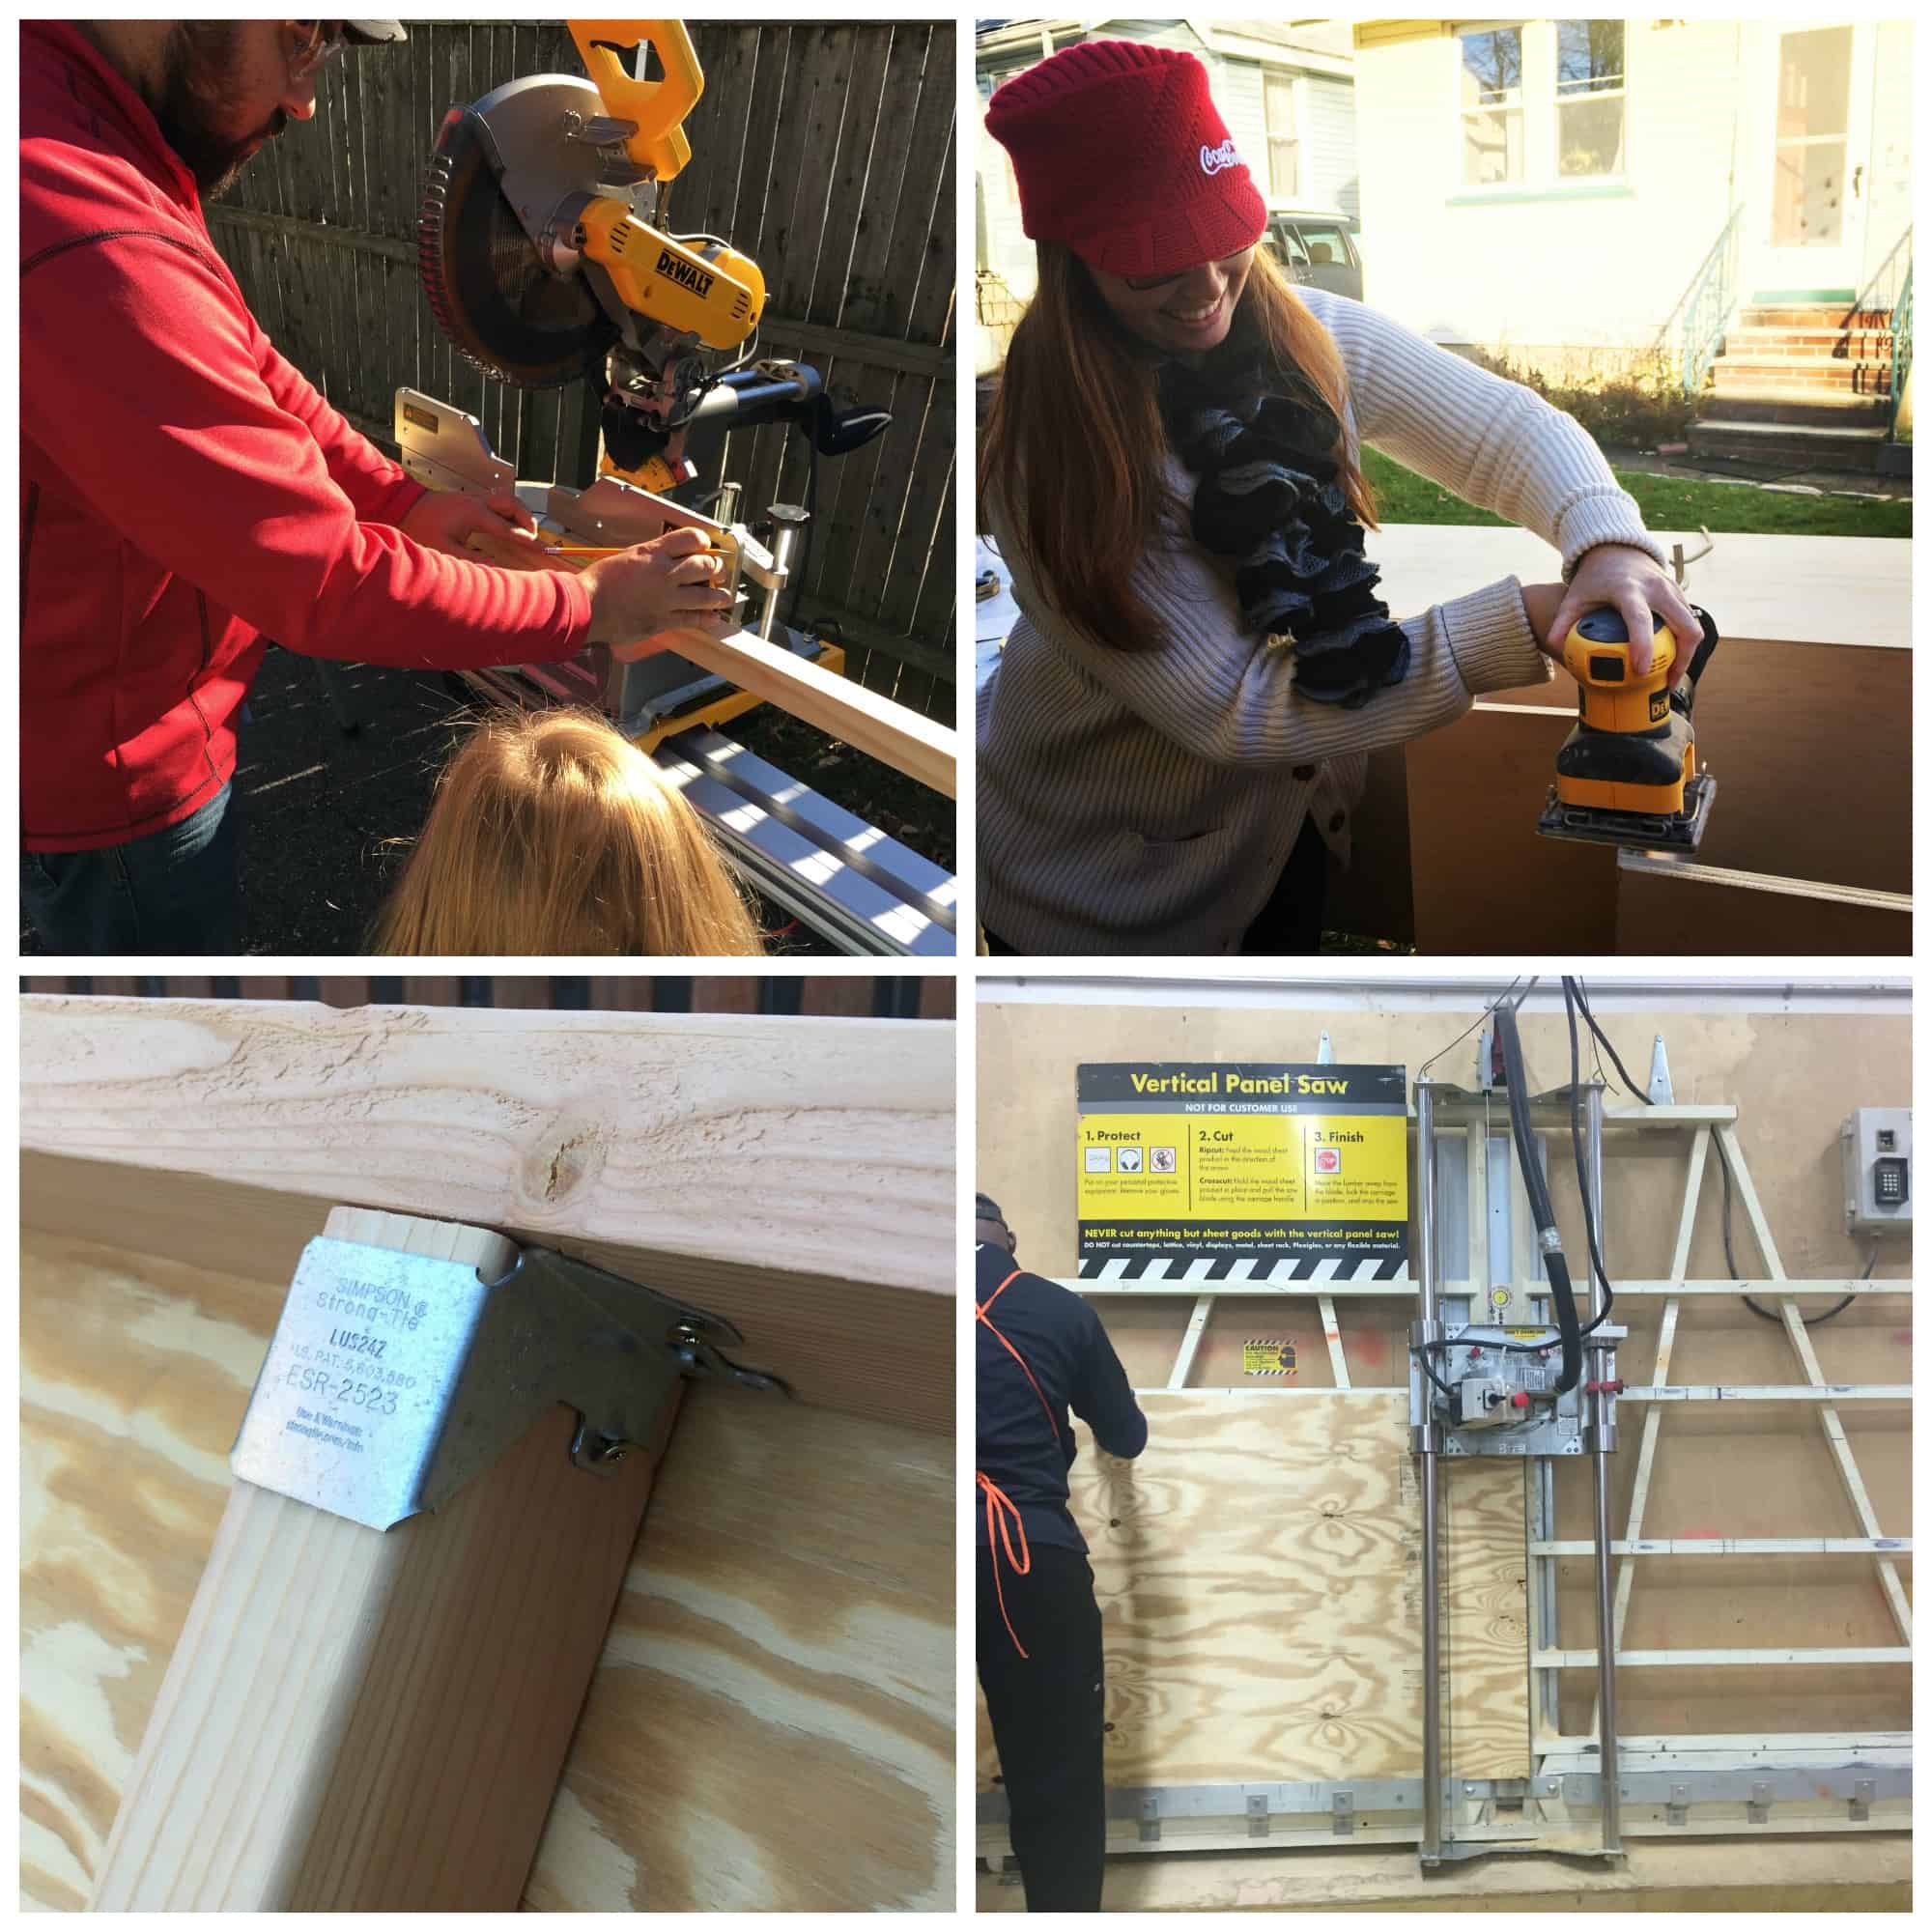
Mike actually came up with the plan and measured it all out. We hit up Home Depot for supplies and even used them to cut a few things. We’ve been collecting tools since we bought our home, but we still needed to buy a lot for this project. One of the best tools we purchased was the Kreg Jig Set. It really was a great investment for us and I’m looking forward to using it in more projects.
How to paint a bunk bed
The big decision for me was what color to paint the bunk beds. I didn’t want to do a wood stain. I wanted to do something fun and playful, but I also needed to keep in mind that this bed will be in this room till Camden goes off to college. Flash forward about 15 years and what color wouldn’t be too “Kiddie”. I picked a floor and step paint because we knew this would be getting heavy foot traffic and put my Wagner Paint Sprayer to work.

We painted it outside and I was so thankful to have had the sprayer. What would have taken multiple hours to prime and paint took maybe an hour to do both, and it looks finished and professional. Plus I felt pretty cool using the sprayer to complete this project.
The biggest challenge for us was getting it up the stairs. We managed to make it work, but we did have a moment of “Oh crap” so if you make your own keep the stairs in mind.

Affordable Bunk Bed
Overall the project cost us about $500 in supplies. Could we have bought one for less? Sure, but there’s something nice about saying Mike and I made this, it’s his own design. The shelves are great for storing books or stuffed animals and since we can easily pull the bed out we don’t have to worry about things getting lost. The kids love it! Eleanor loves having her personal shelf and I’m hoping to put some lights underneath Camden’s bed to make the space more fun.

Are you thinking about making Bunk Beds for your kids? The best piece of advice I can give is to make sure you measure everything before you buy or cut.
 This is me Destiny! I'm a content creator that covers DIY, Cricut, Travel, National Parks, Disney, Games and Family. I’m navigating life with my husband Mike, 2 kids and live in the suburbs of Maplewood, New Jersey.
You both are amazing!!! What an impressive project!
Thanks it was a lot of fun to make together!
Good job, Mike & Destiny! I remember the hardest part of bunk beds was making them so good idea on that wrap around the mattress.
Thanks. yeah the zippy sack is key for making the bed!
Destiny, you and Mike are DIY rockstars in my book! Those beds are AMAZING. We’ve been looking into bunk beds, and when my older kid just saw yours he exclaimed, “those bookshelves are awesome! ” I can’t even begin to imagine taking on this project, but love that YOU did. And I’m so excited to look through your blog and talk more about it soon!
Thanks so much. It was a big and fun project for us. Can’t wait to chat more and I love when worlds collide like this!
Hi there… I was looking for plans to build a bunk bed and I’m thinking about building your idea for sure! But I was wondering if you had more detailed plans you are willing to share? I would so much appreciate it… thank you!
Do you have more detailed plans for this project?
I’m sorry I don’t have anything more detailed at the moment, but will work to come up with something.
How did you support the top piece I just want to make the top piece to make more room in my daughter’s bedroom
You would need a post to support each end of the bed in order for it to be stable and I still recommend attaching it to the wall.
How much did this cost you to make?
It was between $200-$250 total for all the wood and paint. The paint sprayer and tools were things we already had.
Hi there,
Thanks for sharing your story and ideas. My wife found this design inspirational and we hoping to replicate it for our kids. IFor securing the twin bed, there is only 1 and I’m presuming that you anchored the bed to the wall somehow too right? Would you be able to share more about that? Thank you kindly!
There are actually 3 posts that you don’t really see and yes they are anchored to the wall. I’d be happy to send you more photos if you want to reach out to me at [email protected]
Can I get more detailed instructions on the frame and stairs?
Hello! Do you have any more detailed plans for this? I love the design and would like to replicate it for my boys. Thanks!
Do you have any detailed instructions