
This shop has been compensated by Collective Bias, Inc. and its advertiser. All opinions are mine alone. #BlueLizardSummer #

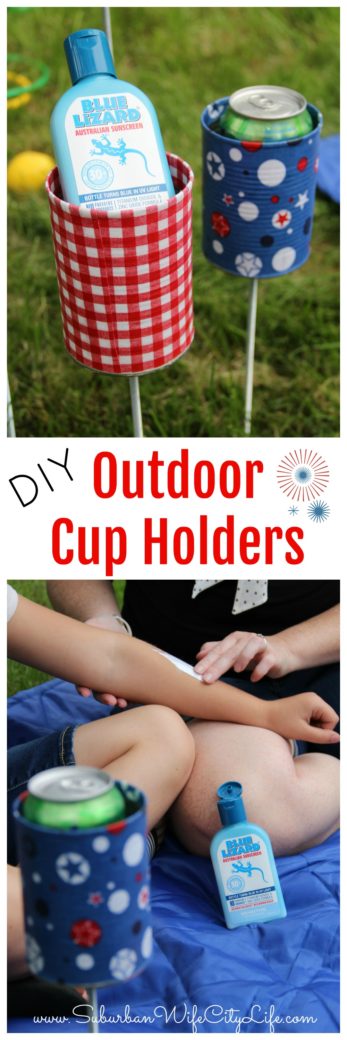
With the warm weather here I find that we’re spending more and more time outside playing, eating, and making memories together. I love to surprise the kids with an impromptu backyard picnic, and wanted to create a way to avoid spills for drinks, so I’m sharing how to make a DIY outdoor cup holder to keep drinks off the ground.
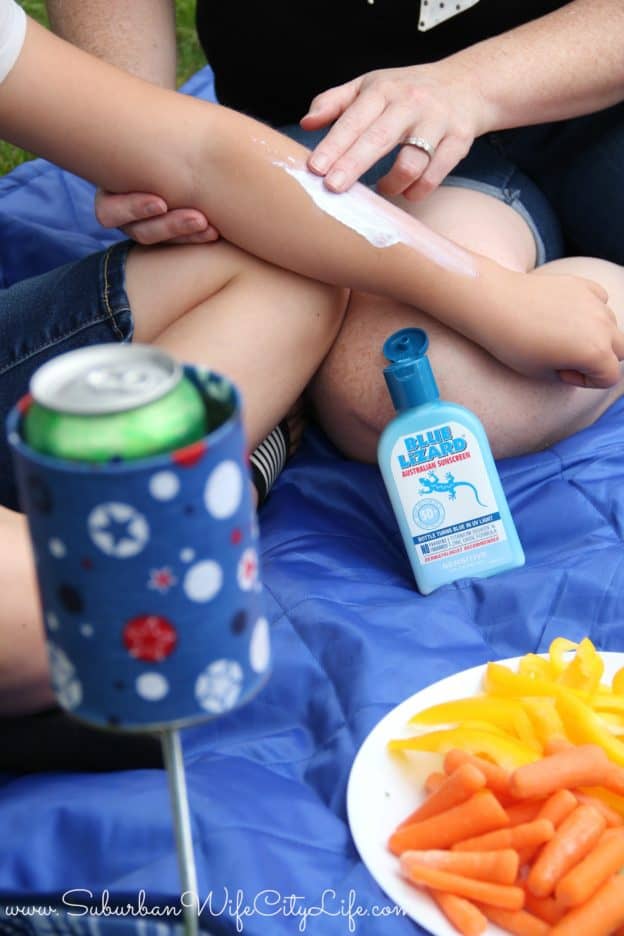
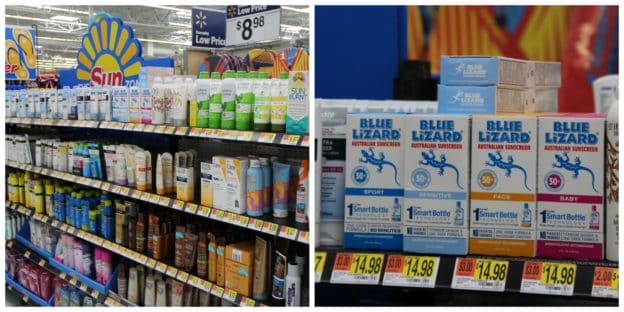
Whenever we decide to head outside it also means we need to protect our skin. I make sure the second they come outside and find our picnic I lather them up with Blue Lizard® Australian Sunscreen. I’ve always been a fan of Blue Lizard® products; they have a unique zinc oxide formulation and provide broad spectrum UVA/UVB protection (SPF30+) and I can pick it up when I’m at Walmart. Which makes it easy for me grab, especially when it’s in the Sun Zone.
 Once we’ve got our Blue Lizard® on it’s time to enjoy our picnic lunch and hanging out in the backyard. I hate the idea of spilled drinks, because it can quickly ruin our time outside (just like a sunburn) so making outdoor cup holders was the perfect solution.
Supplies Needed:
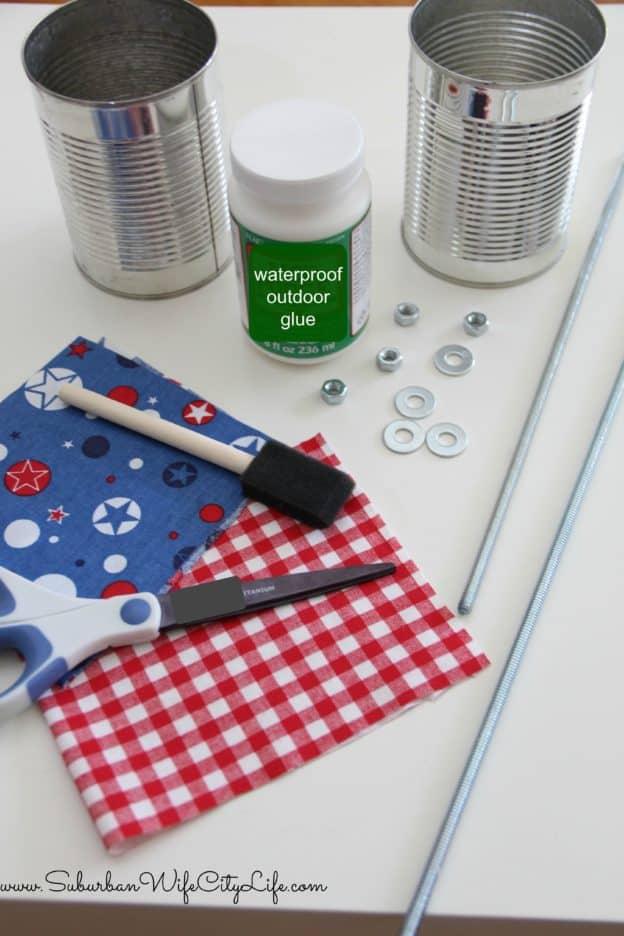 Aluminum Cans (I used 20 ounces or 32 ounces)
Drill or Hammer and nail
Fabric Scraps
Waterproof Outdoor Glue
Foam Brush
Scissors
Threaded Rod 1/2 inch
Nuts & Washers 1/2 inch-20 (2 of each per can)
Step 1: Use aluminum cans that have been cleaned and dried
Step 2: Hammer down any metal snags around rim of the can

Step 3: Drill a hole in the bottom of the can or take a nail and hammer a hole in the bottom
Step 4: Cut your fabric to go around the can and make sure it’s a little taller at the top to cover a little of the inside of the can
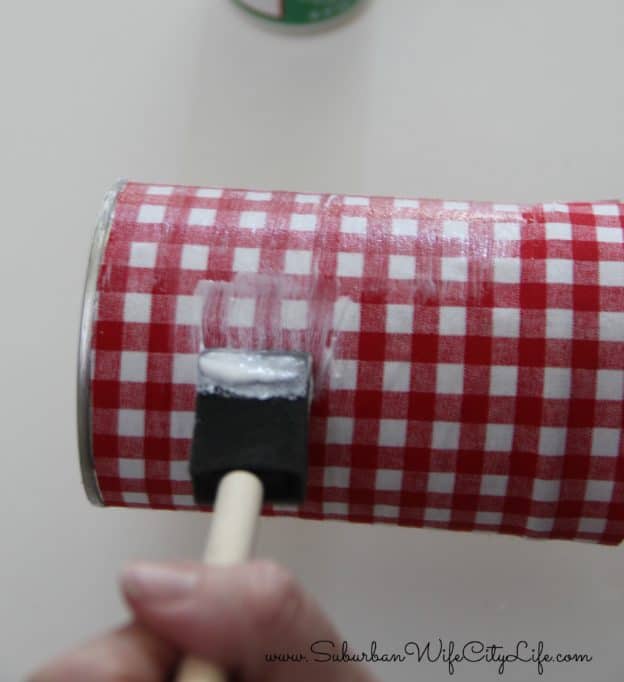
 Step 5: Apply the waterproof/outdoor glue to the aluminum can all the way around
 Step 6: Adhere the fabric. Make sure you flatten it down as you go and smooth out any bumps or wrinkles
 Step 7: Snip little slivers on the top of the excess fabric. This will help it to lay flatter
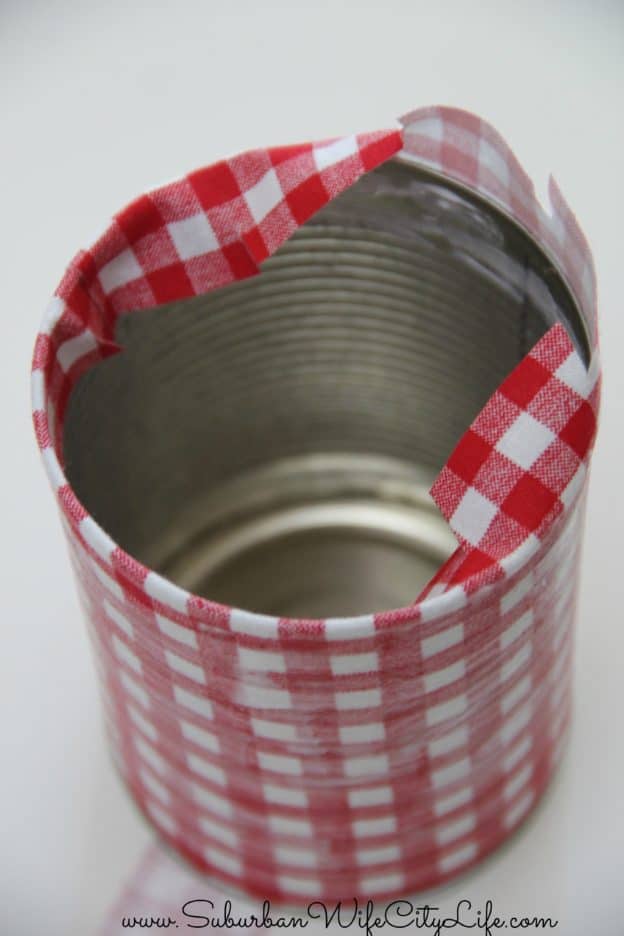 Step 8: Use the waterproof/outdoor glue on the top inside of the can, then push the fabric down to adhere to the can
Step 9: Cover the exterior of the fabric with the waterproof/outdoor glue as well as the inside top
Step 10: Allow the can to dry
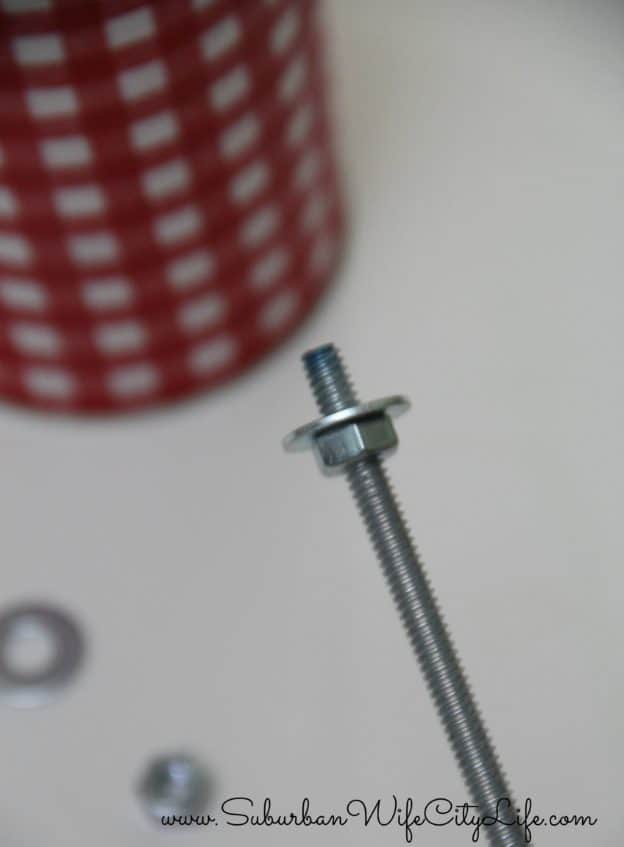
Step 11: Place a nut on the threaded rod and then the washer. Put it on a little lower than the top
Step 12: Add the can
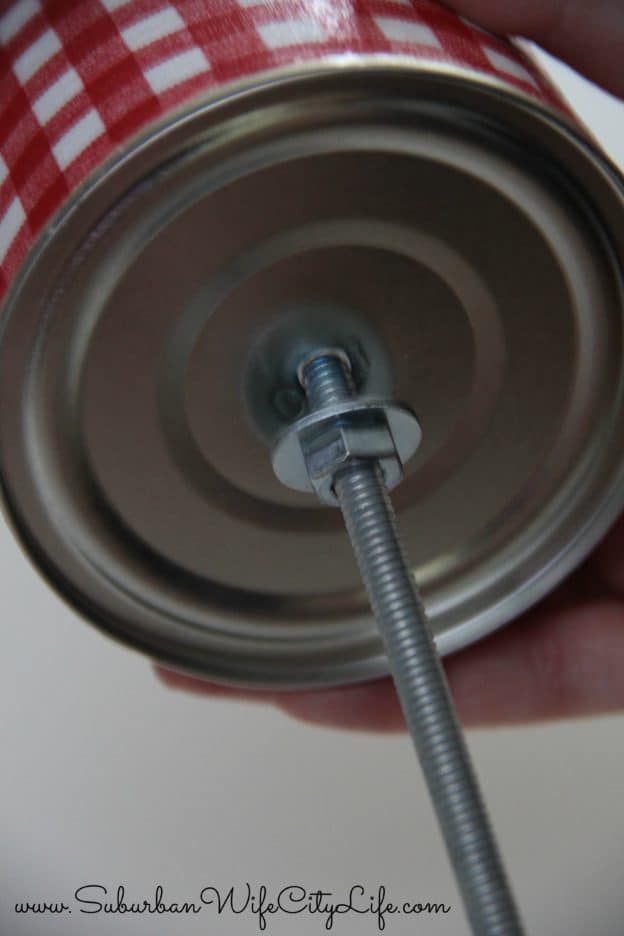 Step 13: Place another washer and nut on top, inside the can and secure
Step 14: Once they are done you can either put them in ground, use at the beach, or take a pot with sand!
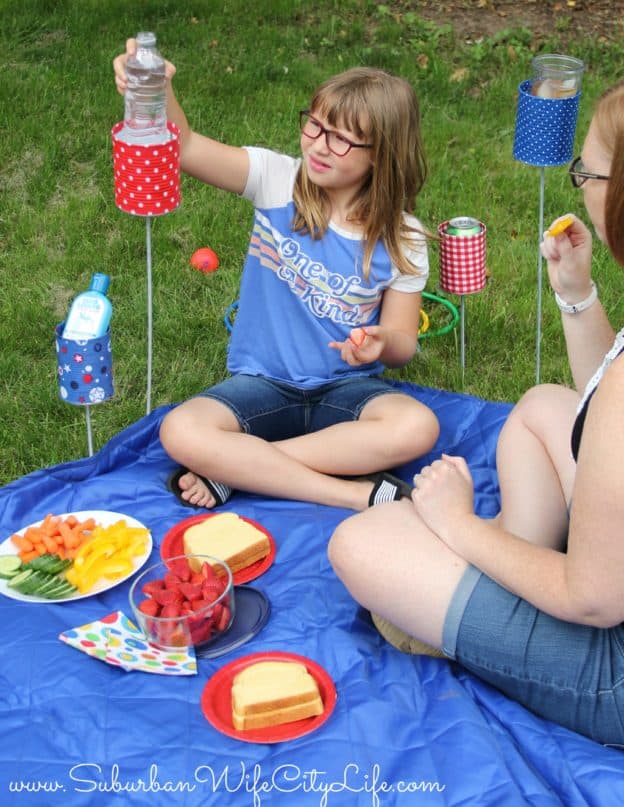
I love having these around for picnics, BBQs or just hanging out. I have different heights so if we’re sitting in a chair we don’t have to lean over or if we’re on the ground it’s the perfect height. I also love that I can store other things in them, like my Blue Lizard® sunscreen.
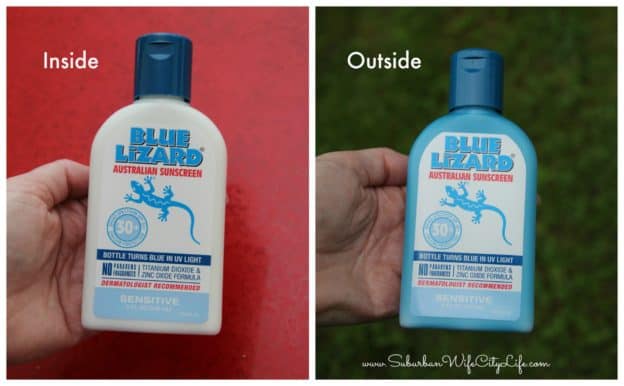 One of the reasons I’ve always been a Blue Lizard® fan is because it’s trusted by dermatologists, and pediatricians. Plus, the bottle is a great reminder that the suns rays are harmful. When it’s exposed to harmful UV rays the bottle will change color from white to blue. It always surprises me how on even an overcast day the sun is still out and it’s best to protect your skin. Oh, and if you join iBotta you can earn $4.00 when you purchase Blue Lizard® Australian Sunscreen – Sensitive, 5 oz. bottle, which is a great savings.

What fun plans do you have for this summer?
 This is me Destiny! I'm a content creator that covers DIY, Cricut, Travel, National Parks, Disney, Games and Family. I’m navigating life with my husband Mike, 2 kids and live in the suburbs of Maplewood, New Jersey.
I love these cup holders. Very cute idea. Will have to try to make some.
Thanks also for information on the Blue Lizard sunscreen. Neat that the bottle changes color when in the sun as a reminder to put the sunscreen on – especially for the kids.
Thanks for stopping by and I’m glad you like them and got to introduce you to Blue Lizard!
Where did you find the glue for this project.
You can find it here: http://amzn.to/2scA6yV (affiliate)
I might try Contact paper. It is waterproof.
That’s a great idea. Let me know how it goes.
Great idea. Instead of using the hammer to flatten the cut edge of the can, I just run the can opener around the edge one or two more times (learned to do this about 30 years ago when I needed to reuse the old metal coffee can).
That’s a great tip. Thanks!
Wish I was more creative, this is such a cute idea! Thanks for showing us.
Thanks, and it’s pretty easy to make and super useful!
Love the idea I am going to do it
What a great idea for keeping those late night BarBQue guests from spilling their drinks…thank you!
Looks very cool and creative! I love your great diy ideas
Thanks, it makes hanging outside and enjoying a cold beverage even better.
how long are the threaded rods you used? I love the idea, because when I am outside with a drink, I hate to put it down on the grass, and this solves the problem. I love this idea.
I got different sizes so I could use for them a picnic or sitting in a chair. The shorter one was 12 inches and the longer one was 20 inches. I picked them up at my hardware store.
Love this idea, we will be making some. One of the handheld openers that takes the whole lid off would work wonderfully 🙂 Thanks again.
I bet that would work perfectly and give you a clean edge!
These are so cute. I love this idea. I have never tried Blue Lizard but I am going to soon. Thank you for sharing