
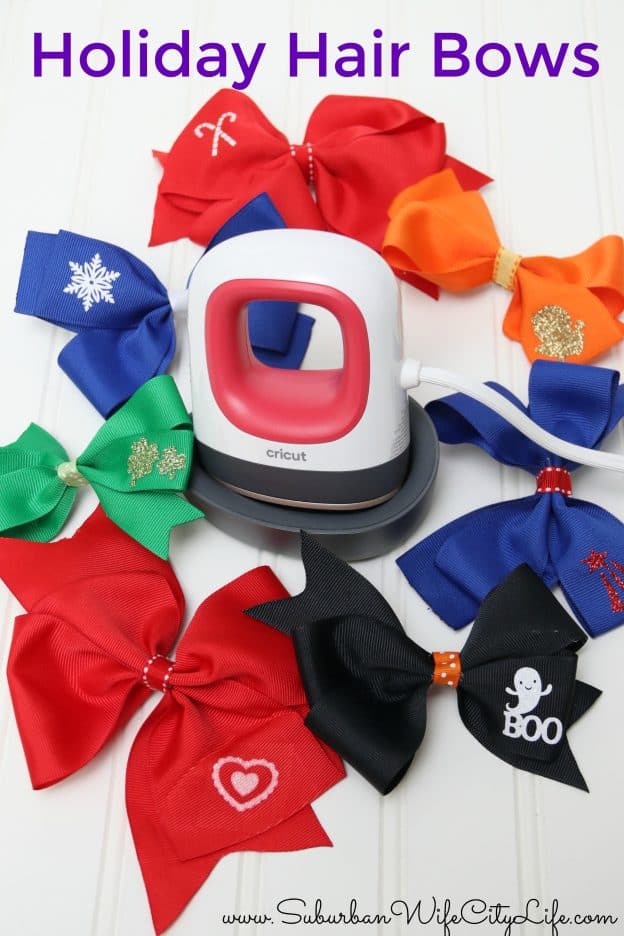
Mini but mighty is exactly what the new Cricut EasyPress Mini brings to the craft table and I’m putting it to use by making holiday hair bows.
I’m constantly using my Cricut EasyPress 2 for different projects, and often toggle between my Cricut Explore Air 2 and Cricut Maker. I like having both machines just like I like having multiple sizes of EasyPresses, but I am so excited for the Cricut EasyPress Mini as sometimes you have a smaller or odd shaped project that just needs something smaller, 2×3 inches, and this is the answer to those problems.
Cricut EasyPress Mini

Of course I knew I needed this EasyPress Mini because in my spare time I make the school hair bows and add some personal features like the school logo or name and this press is both the right size and price. It’s $69.99 and available now. This will also work great for hats, shoes, stuffed animals, pockets and so much more.
I bet you didn’t realize that making hair bows is relatively easy, and using a Cricut to personalize them with different designs can add a little extra pizzazz to any bow. This is also a great time to use up some of those Iron on vinyl scraps since you’ll be make small designs.
holiday hair bows supplies needed:
- Ribbon (I like to have 1.5 inch and also 3/8 inch)
- Alligator clip
- Iron on vinyl
- Cricut Explore Air or Maker
- Cricut EasyPress Mini
- Hot glue gun
- lighter
- Rotary cutter

How to make hair bows
I start by figuring out what ribbon combos I want to make.

How to make holiday hair bows
Now it’s time to figure out what designs you want to include on the bow. I love all the different options in Cricut design space, and really do find having Access is key to being able to create whatever I want when I want. For this project keep in mind that the design has to be small under 1 inch each so try not to pick something that has too much detail.
- Once you pick the different designs it’s time to cut, and you’ll want to make you mirror the image.
- After you cut weed the image and heat up the glue gun.
- Cutting the ribbon. The 3.8 inch ribbon should be cut 26 inches and the 3/8 inch ribbon cut 2.75 inches
-
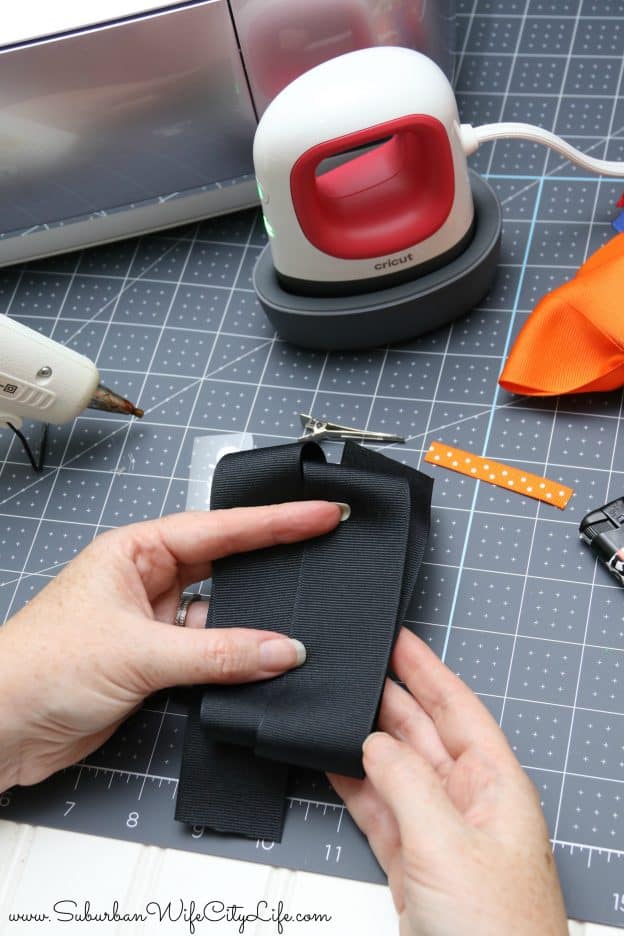
- Take the 1.5 inch ribbon and fold it over 2 times with the tails on the bottom
-
-
- Fold from the center to make the middle of the bow and then use the hot glue to hold into place (watch those fingers it can get hot)
-

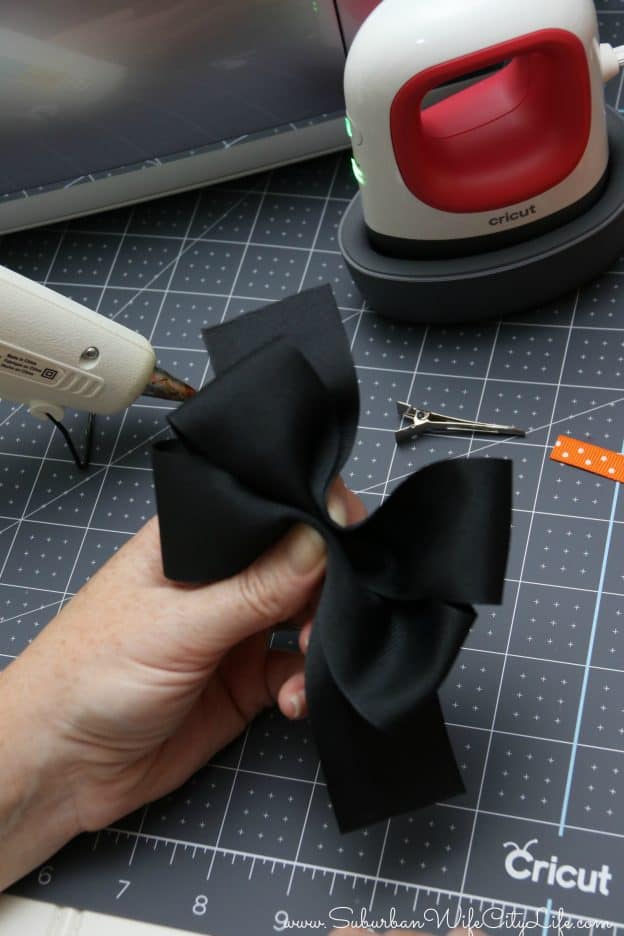
Now add a dab of hot glue to the center and place the 3/8 inch ribbon there and fold one side around.

-
-
-
- Glue the alligator clip and fold over the other side of the 1/2 inch ribbon
- Heat up your EasyPress Mini to the 2nd level (Remember this can get up to 400 degrees so be careful it gets hot!)
-
-

-
-
-
-
- Once it’s ready to go the light will turn from orange to green, then place the iron on vinyl were you want and use the EasyPress Mini to add your holiday design.
-
-
-

<
-
-
-
-
- Apply the EasyPress Mini to the bow for about 10 seconds. I just love how small and easy this is to use!

- Apply the EasyPress Mini to the bow for about 10 seconds. I just love how small and easy this is to use!
-
-
-
EasyPress Mini
What’s so fun is these bows are pretty simple and quick to make and you’re able to do so many themes. It can be holiday, schools, sports, teams or even vacation. The ease of the Cricut Explore and EasyPress Mini makes this project so much fun.
Make sure you check out my other Cricut Posts:
 How to use Cricut Infusible Ink
 How to use Cricut Print then Cut
 FAQs about Cricut EasyPress 2
 This is me Destiny! I'm a content creator that covers DIY, Cricut, Travel, National Parks, Disney, Games and Family. I’m navigating life with my husband Mike, 2 kids and live in the suburbs of Maplewood, New Jersey.
Awesome