
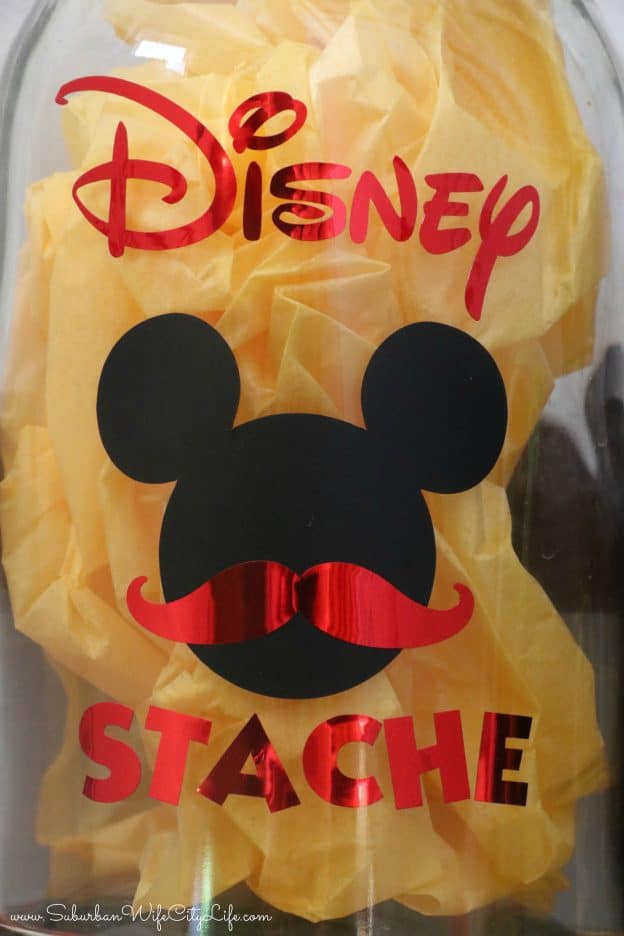
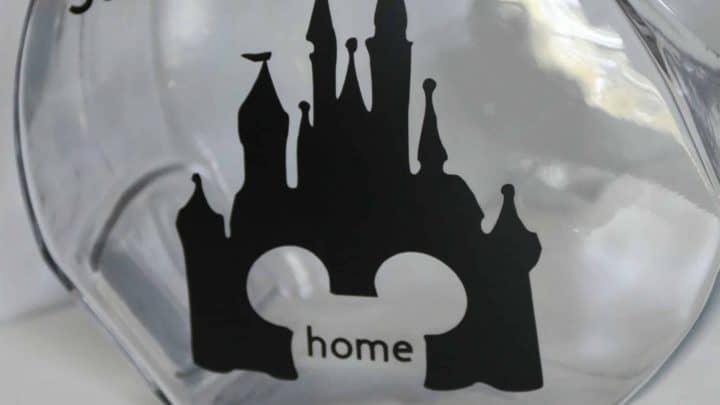
Having a fun way to save for an upcoming Disney trip makes pulling the pennies and bills together a little easier. This DIY Disney Stache is a fun play on words to get the whole family excited to save!
Let me say this isn’t my 1st Disney Fund, and I’m sure it won’t be my last, as I love coming up with fun ways to get excited for a trip and using my Cricut. I was talking with my hubby and he was making fun of how I always stash money for upcoming vacations, and that’s when it hit me that I needed to make a Disney Stache, but with a fun twist.
 Mickey and a mustache is my little nod to the man himself, Walt, as I don’t know that I’ve ever seen a photo of him without a mustache. Plus it’s cute!
Supplies to make a Disney Stache
Glass Jar
Cricut Machine
Black Vinyl
Metallic Red Vinyl
Transfer Tape
How to make a Disney Stache
I was able to make this in Cricut Design and have the file to share with you here: Disney Stache
It’s important to make sure you size your images to your glass jar. While mine was a tall one a shorter or smaller one will need to be adjusted.
 Once you’re ready to go you’ll want to cut the vinyl, which should be placed face up on the cutting mat. Make sure you select the correct vinyl. I use a regular black vinyl but needed to select a different for the metallic vinyl as it will cut differently
After you cut it out weed the excess
 Make sure your glass jar is clean and dry before the next step.
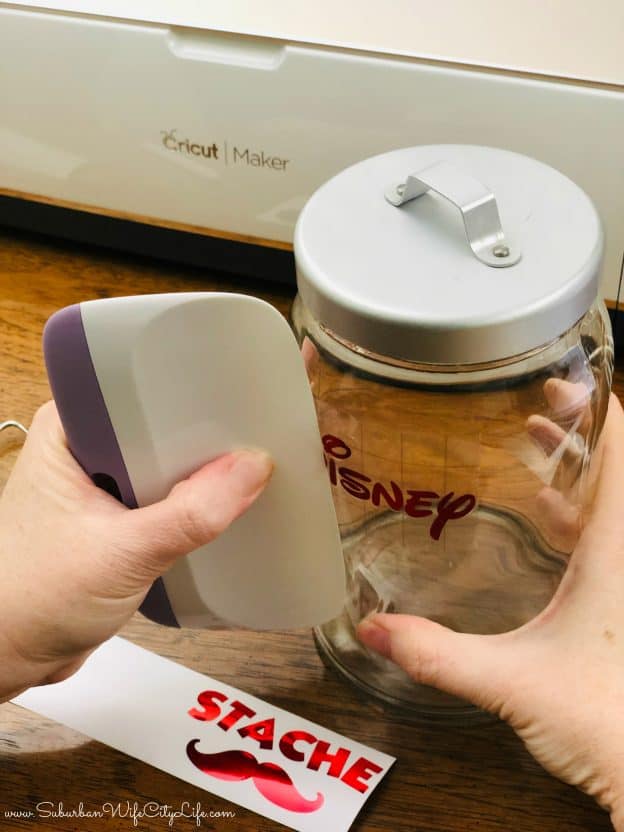
 Use the transfer tape to apply the images and text to the glass jar. Tip: Did you know you can reuse the same piece of transfer tape numerous times?
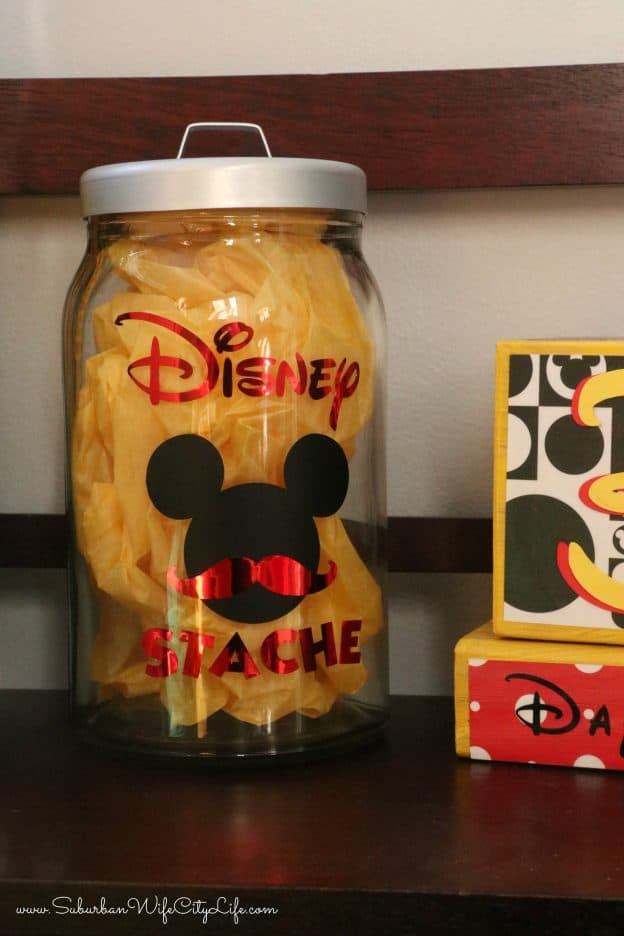
Start saving your money! This project is about 15 minutes and makes a great gift or way to jump start your savings for a future Disney trip.
Disney Fund
 Do you have a special place where you collect money for future vacations to Disney?
More Disney DIY Cricut Projects

Make sure you check out my other Cricut Disney Posts!
 DIY Disney Countdown Blocks
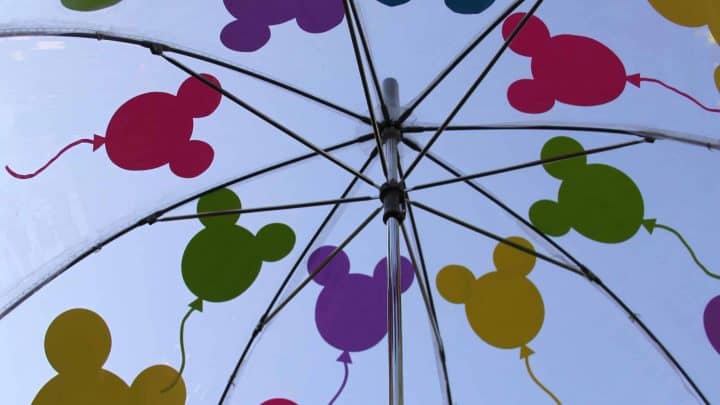
 Disney Balloon Umbrella
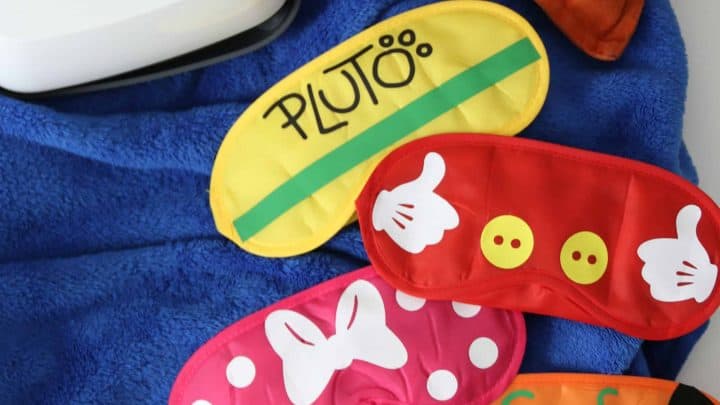
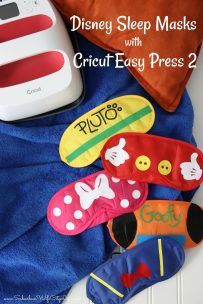 Disney Sleep Masks
 This is me Destiny! I'm a content creator that covers DIY, Cricut, Travel, National Parks, Disney, Games and Family. I’m navigating life with my husband Mike, 2 kids and live in the suburbs of Maplewood, New Jersey.