
When you’re planning a big vacation, counting down the days can be a fun way to build the excitement. It also doubles as a way to keep the kids from asking “how many days.” The next trip we’re taking is a Disney Cruise, but we also have a Disney World trip planned for the fall so I decided to make some Disney Countdown blocks to cover both of these exciting trips.
 Making this DIY project was actually pretty easy once I figured out what I needed to put on the blocks. Over all I decided that the base should work for either a Disney Cruise or a trip to Disney so I made one side say Cruise Countdown and the other Days to Disney. This way I can easily flip it over to cover both types of fun.
How long does it take to make Disney Countdown Blocks?
Overall this project didn’t take me a lot of time to do. I did a little here and a little there, but it was probably an hour in total. I’m so happy with how it turned out and know it will help to make our next Disney adventure even more exciting to look forward to.
How many blocks and numbers will I need for my count down?
Countdown from 43-0 (you’ll need 2 blocks)
Block 1: 1,2,3,4,5,6 (make sure the 6 can also be flipped to be a 9)
Block 2: 1,2,3,7,8,0
Countdown from 110-0 (you’ll need 3 blocks)
Block 1: 1,2,3,4,5,6 (make sure the 6 can also be flipped to be a 9)
Block 2: 1,2,3,7,8,0
Block 3: 4,5,6,7,8,0
Countdown from 443-0 (you’ll need 4 blocks)
total and you’ll just want to make 2 sets of the 43-0 countdown).

Disney Countdown Blocks Supplies Needed:
- Wood Blocks
- Wood Base (I used a scrape piece of wood)
- Paint
- Paint Brush
- Paper
- ModPodge
How to make Disney countdown blocks:
- Take your blocks and sand them down. This gets rid of imperfections and makes it easier to paint and add the paper.
- Paint your blocks – I decided to go with yellow like Mickey’s shoes
- Paper squares. I had 4 different paper designs and since I was making 2 blocks cut 3 of each design with my Cricut
- Cut your numbers. I decided I wanted to make my numbers with a shadowed look so I used 4 different colors. I used the Waltograph font so it had a Disney feel.
- Figure out what numbers go on what cubes. I’ve got the math all worked out for you and the best tip I can give is to put a post-it note with the number on each side of the block so you know where the number goes.
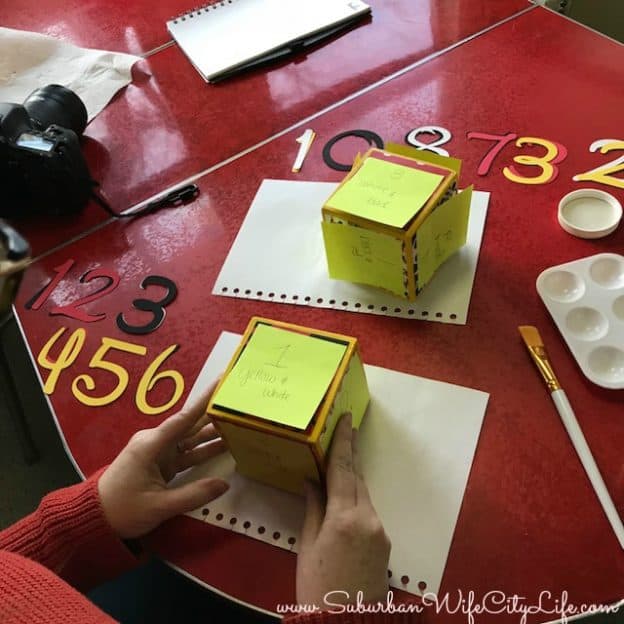
- Apply Modpodge to the block and back of the paper square then place it on the block and let dry.

- Once you know where your number goes add modpodge to the surface of the block and back of the number.
- Then place your number where you want it and cover in modpodge
Allow to dry then, happy counting!
Do you do a countdown before a big trip?
More Disney DIY Cricut Projects
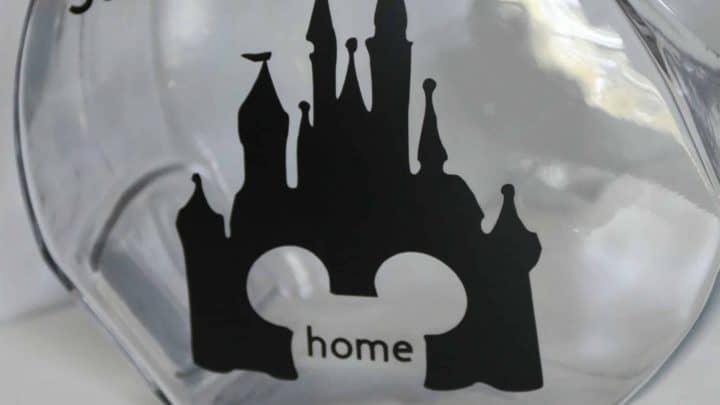


More Disney DIY posts: DIY Disney Fund
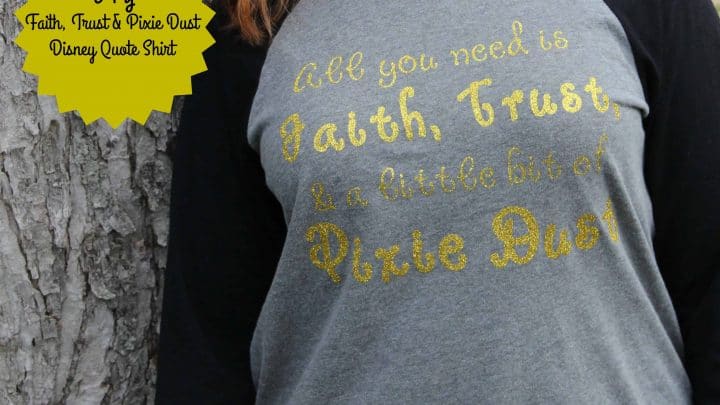
 Disney Reveal
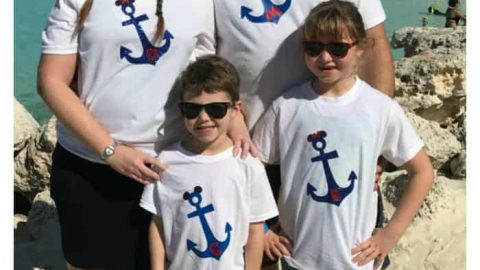
 Disney Family Cruise Shirt
first published feb 13, 2018
 This is me Destiny! I'm a content creator that covers DIY, Cricut, Travel, National Parks, Disney, Games and Family. I’m navigating life with my husband Mike, 2 kids and live in the suburbs of Maplewood, New Jersey.
I love this idea! It is so cute and a fun way for the kids to keep track of how much longer until the big trip. I will be making these soon! Thanks for the idea!