I have always been a fan of Pixar and love the Pixar ball with the bright yellow, blue stripe and red star it stands out. I decided to make a Pixar Ball shirt for a visit to Disney and found I also stood out. Making this Pixar Ball shirt for a Disney trip or costume is easy and fun.
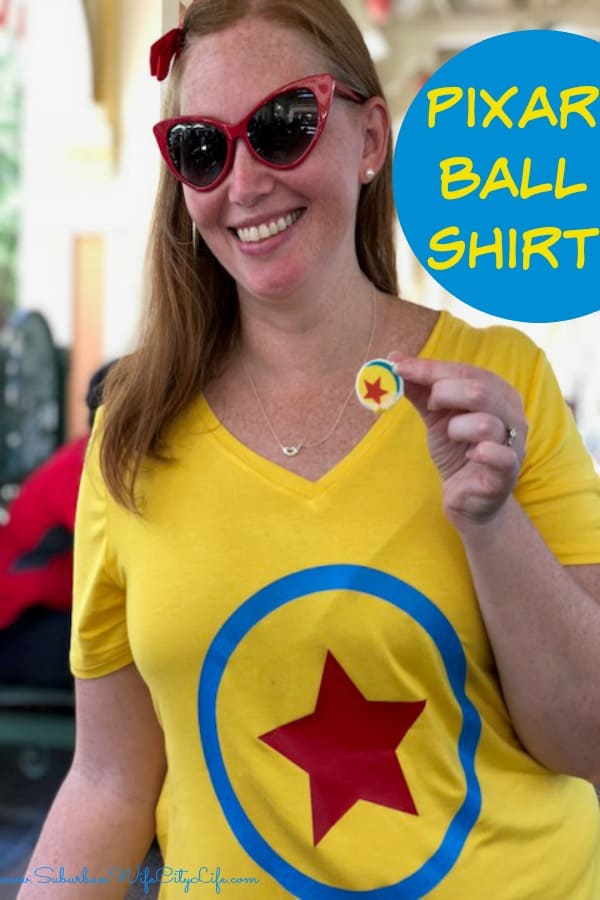
From the 1st collaboration of Disney.Pixar I was hooked. Watching the bright yellow ball bounce around gave me joy. So when Disneyland was hosting Pixarfest I knew I needed to make the Pixar Ball into a shirt.
Supplies:
Yellow Shirt
Cyan Heat Transfer Vinyl (HTV)
Red Heat Transfer Vinyl (HTV)
Cricut
EasyPress
Step 1: Use Cricut DesignSpace to make your design. I used a circle and a star that were a part of my Cricut Access subscription.
Step 2: I used a yellow shirt for the base and made sure to iron out any wrinkles
Step 3: Cut out the circle with cerulean blue and the star with red
Step 4: Use the EasyPress or Iron to add the HTV to the shirt. Remember to check the chart to make sure you have the right temps
Step 5: Once it’s set peel off the top and enjoy!
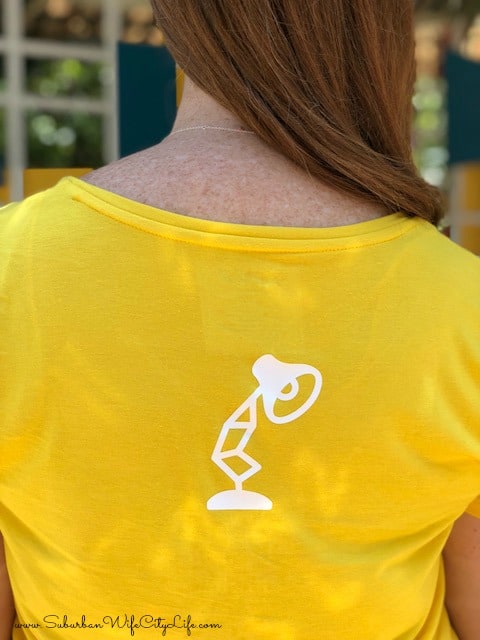 Step 6: Bonus: I added a little lamp to the back of my shirt like Luxo using white HTV
 I loved wearing this shirt around Disneyland and I got a lot of compliments from both staff and guests. It was fun to be the Pixar ball and a big bonus for my friends because I was very easy to spot.
This will also make a great costume. Maybe go for a yellow sweatshirt if it’s cool and some yellow leggings and you’ll be the talk of the town as you bounce from house to house trick or treating! It’s great for any age and will stand out in a costume contest.

Are you a Pixar fan? Would you like to Disneybound with a Pixar Ball shirt or make that your next costume?
More Disney DIY Cricut Projects

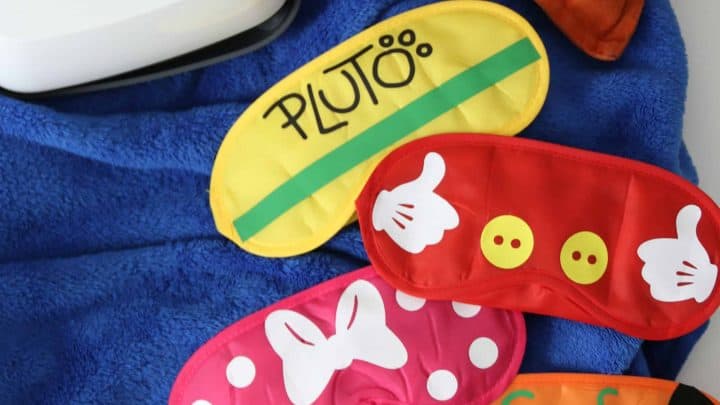
 Disney Countdown
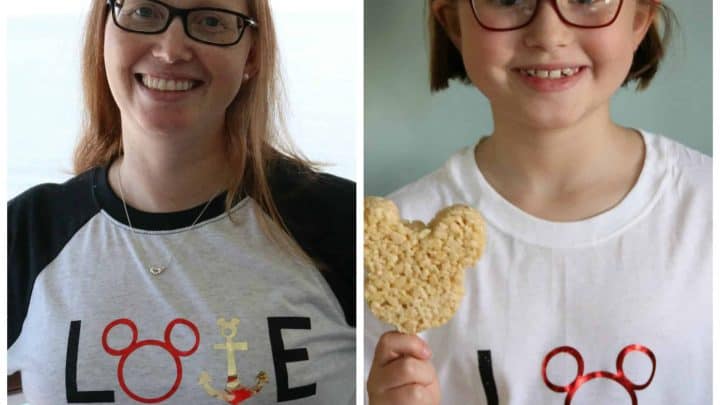
 Family Disney Shirts with Cricut
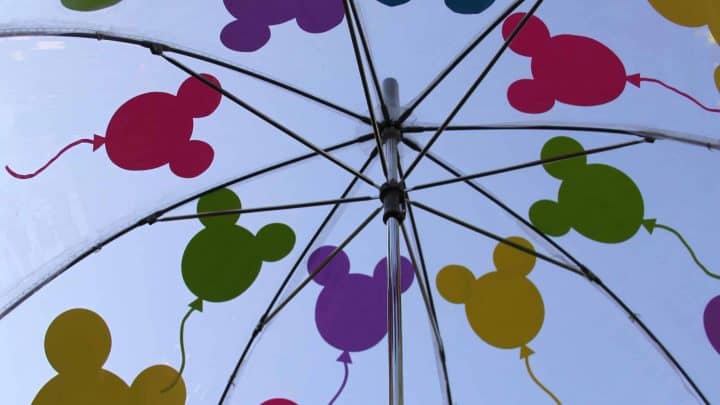
 Disney Balloon Umbrella
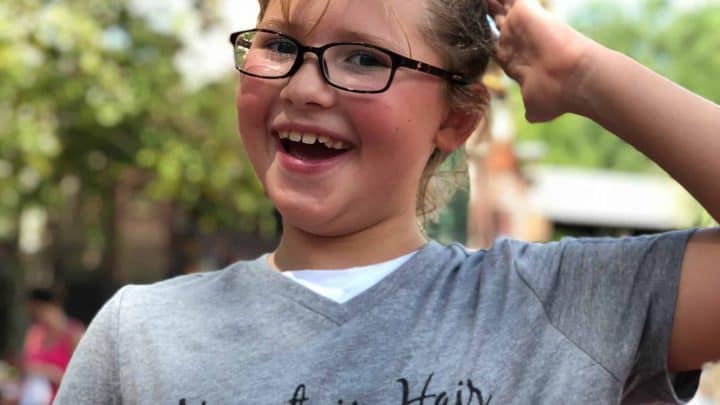
 This is me Destiny! I'm a content creator that covers DIY, Cricut, Travel, National Parks, Disney, Games and Family. I’m navigating life with my husband Mike, 2 kids and live in the suburbs of Maplewood, New Jersey.
so cool superhero t shirt!